
Skip to Content
chevron-left chevron-right chevron-up chevron-right chevron-left arrow-back star phone quote checkbox-checked search wrench info shield play connection mobile coin-dollar spoon-knife ticket pushpin location gift fire feed bubbles home heart calendar price-tag credit-card clock envelop facebook instagram twitter youtube pinterest yelp google reddit linkedin envelope bbb pinterest homeadvisor angies

How to Choose the Best UV Drying Solutions?

Choosing the right Uv Drying Solutions starts with the material, not the lamp. A glossy coating on a plastic label may need a different setup from ink on a paper carton. The best system must deliver a reliable cure at the required production speed, without overheating the substrate or wasting energy. More power alone is not a solution.

UV-curing expert Dr. Robert F. Bohn’s published work informs a process-focused approach. A useful paraphrase of that principle is: “Match the lamp, formulation, and production line before chasing maximum power.” This is a paraphrase, not a verbatim quotation. It captures an important point: wavelength, irradiance, exposure time, ink chemistry, and line speed work together. A mismatch can leave a surface tacky, weaken adhesion, or create inconsistent results across a wide web.

Small details matter. Check the substrate’s heat tolerance, measure output at the working distance, and test the actual ink or coating under production conditions. Ask suppliers for measurable performance data and clear maintenance requirements. Then confirm the cure on real samples, not just a demonstration panel.

There is no universal best system. And that is easy to overlook. A compact LED unit may suit a heat-sensitive product, while another application may require a different source or configuration. Treat early trials as evidence, not proof. Record the settings, inspect the finished surface, and revisit the choice when materials or line speeds change.
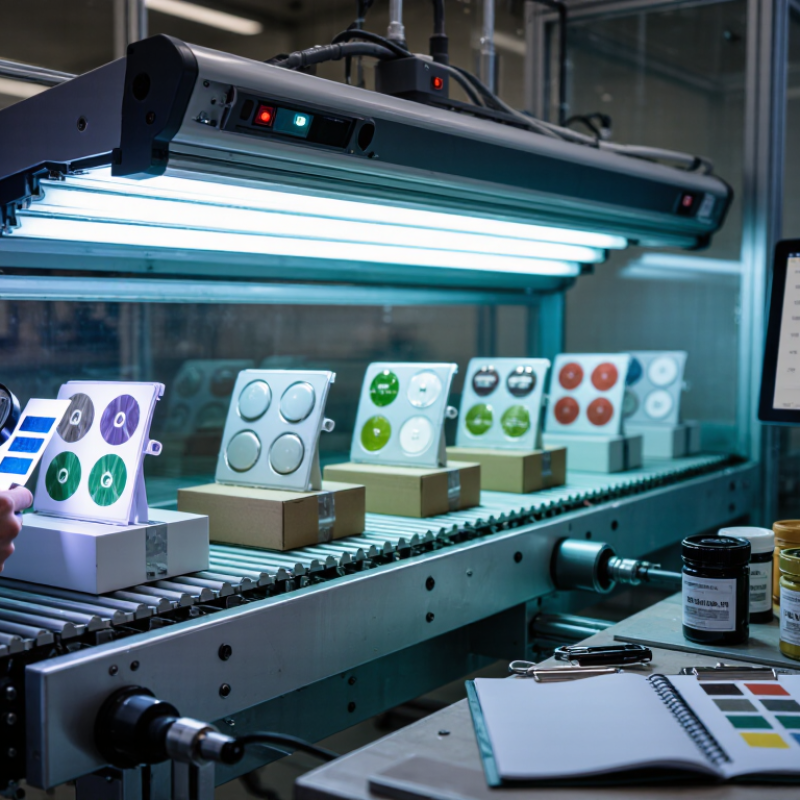
How to Choose the Best UV Drying Solutions?

Identify the Materials, Coatings, and Production Needs

Choosing a UV dryer starts with the actual substrate, not a machine specification sheet. A clear varnish on glass behaves differently from an opaque ink on flexible film. Check whether the material absorbs or reflects the lamp’s output, and test adhesion after curing. Thin plastics can warp under heat; paper may curl when coating coverage is uneven. Small details matter.

The coating determines the wavelength and energy needed for a reliable cure. Ask its supplier for recommended wavelength, irradiance, and dose, then verify them on your production line. MarketsandMarkets’ 2023 UV Curing System Market report estimated the market at USD 3.3 billion in 2023 and projected USD 5.1 billion by 2028. That growth suggests broad adoption, but it does not prove a system suits your job. Line speed, web width, lamp distance, and shaded areas all affect results. I still consider a glossy test panel weak evidence; check adhesion and curing through the full production run.

Match the system to real operating conditions: daily hours, changeovers, cooling needs, and available maintenance time. Record test results for each substrate and coating combination. A slower line may cure well while a faster one leaves tacky edges. That is easy to miss. Start with small trials, inspect the finished surface, and adjust only one process setting at a time.

Compare UV Lamp Types and Curing Technologies

Choosing a UV system starts with the lamp’s spectrum, not its advertised power. Mercury-vapor lamps emit across a broad band, which can suit coatings containing several photoinitiators. Metal-halide lamps shift that output toward longer wavelengths, helping light reach some pigmented layers. UV LEDs emit narrow bands. RadTech’s UV LED Curing Primer identifies common peaks at 365, 385, 395, and 405 nanometers. Match the peak to the photoinitiator’s absorption range; a mismatch can leave a tacky surface or weak adhesion. Not always obvious.

The curing chemistry matters just as much. Free-radical acrylates cure quickly, but oxygen at the surface can inhibit the reaction, especially on thin films. Cationic epoxy systems are less sensitive to oxygen and may continue curing after exposure, though moisture can interfere. LEDs generally deliver less infrared heat to the workpiece than conventional arc lamps, but the substrate can still warm during repeated passes. Check irradiance and dose at the part, not only at the lamp window. A handheld radiometer helps, but readings depend on wavelength and measurement setup. That detail is easy to miss. Test the actual ink, coating, line speed, and substrate before choosing a curing technology; small trials often reveal uneven edges or shadowed areas that a datasheet cannot.

How to Choose the Best UV Drying Solution?

Compare representative emission wavelengths for common UV sources used in curing and related applications.

How to read this chart: The bars show representative wavelengths, not lamp power, efficiency, or cure speed. Medium-pressure mercury lamps emit multiple wavelengths across a broad spectrum; UV LEDs are available at several discrete peaks, commonly from about 365 to 405 nm. Match the source to the photoinitiator and material, and note that low-pressure mercury at 254 nm is primarily used for disinfection rather than general UV coating cure.

Match Wavelength, Output, and Conveyor Speed to the Process

Choosing UV drying equipment starts with the ink, coating, or adhesive chemistry, not the lamp’s headline wattage. Check the material’s response range: a formulation may cure well at 365 nm but respond poorly at 395 nm. Dark pigments and thick films can also limit light penetration. Measure at the surface.

Judge output by both irradiance and delivered dose. Irradiance describes the power reaching the work; dose accumulates during exposure. On a conveyor, higher speed means less exposure time, so more output may be needed to maintain the required dose. But more power is not always better. Heat-sensitive films may warp, while a cured surface can hide a tacky layer underneath. Test with the actual material.

Set conveyor speed after checking lamp distance, reflector condition, and light uniformity across the belt. A reading at one point can miss weak edges. Run a small trial at production speed, then check adhesion, tack, and gloss at the center and edges. Record the wavelength, measured output, and belt speed. One assumption worth questioning: a setup that worked last month may not work today. Dust on a lamp window or sensor can quietly change exposure, so recheck readings after maintenance or when results shift.

Assess Equipment Fit, Safety, and Operating Costs

How to Choose the Best UV Drying Solutions?

Assess Equipment Fit, Safety, and Operating Costs

Choose equipment around the actual material and production line, not a headline wattage. Test the intended ink, coating, or adhesive on the real substrate. Check curing depth, conveyor speed, working width, and available clearance. A test coupon tells more than a brochure. It can also reveal heat damage or uneven curing before installation.

Safety features deserve a close inspection. Look for effective shielding and interlocks that stop UV output when access panels open. Use eye and skin protection specified for the equipment, and consider ventilation when materials release vapors during curing. Do not judge exposure by visible brightness. UV light may be difficult to see. Keep maintenance procedures clear, too; hurried lamp cleaning can create avoidable exposure or downtime.

Purchase price is only part of the cost. Compare energy use, cooling needs, lamp or LED replacement, ventilation, servicing, and production interruptions. Estimate cost per acceptable finished piece across a typical shift. A faster unit may still be costly if it needs frequent maintenance or rejects delicate parts. I would leave room for doubt: one successful sample does not prove stable performance across a full run. Recheck cure quality as speed, material, and equipment age change.

Test Curing Performance Before Final Selection

How to Choose the Best UV Drying Solutions?

Test Curing Performance Before Final Selection

A lamp’s rated output cannot tell you whether a coating will cure on your production line. Test with the actual substrate, coating thickness, and conveyor speed. A thin film on clear glass behaves differently from a heavier layer on a heat-sensitive plastic. Small differences matter.

Measure UV dose with a radiometer suited to the lamp’s wavelength, and record the lamp-to-surface distance. Then check the cured sample for tack, rub resistance, adhesion, and cure through the full film depth. Run several passes at normal line speed, not just one slow test. Not always. A surface can feel dry while material underneath remains undercured.

Keep notes on temperature, lamp age, and sample position; edges may receive less exposure than the center. I would not treat one successful pass as proof, even when the finish looks clean. That shortcut is tempting under schedule pressure. Test under realistic operating conditions, and include the least favorable setup you expect to use. A test coupon is useful, but it cannot reproduce every variation in a full production run. If results shift between samples, investigate the process before selecting equipment.